Collagraph Prints

Collagraph printing is the printing process in which you glue materials to a hard surface to create a tile, then you ink the textured tile and print the image onto paper. The texture tile is covered with different colored inks to print different tones. Almost anything can be used to make the textures on the tile, including leaves, fabrics, tapes, etc. In this activity, we will be using cardboard and foil to create the texture tile and markers as our ink for printing on paper.
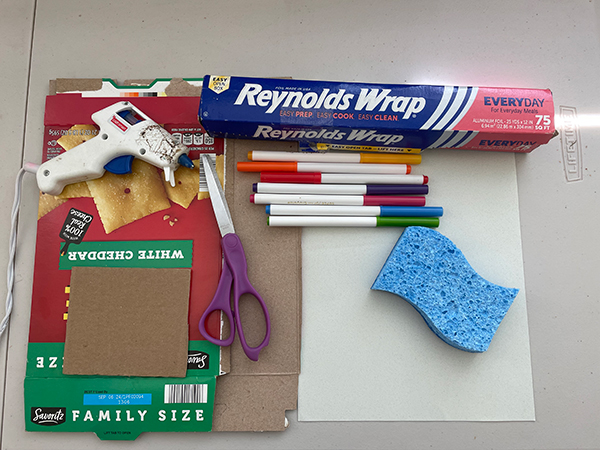
You will need:
- Corrugated cardboard
- Empty cereal or cracker box
- Scissors
- Aluminum foil
- Hot glue or regular glue
- Sponge
- Washable markers
- Paper
- Pencil
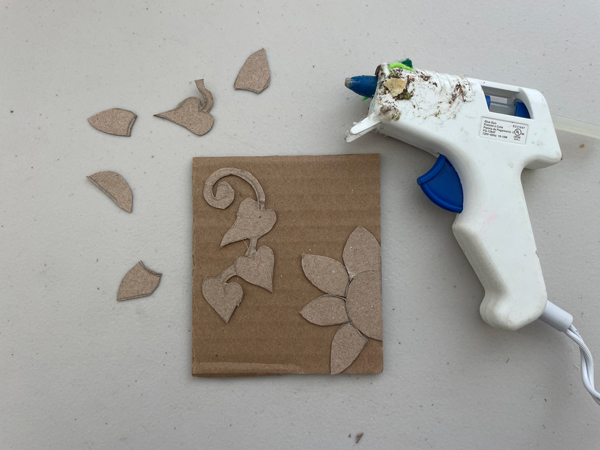
After gathering your supplies, begin by cutting a square of corrugated cardboard. In this sample the square is 4.5” by 4.5” but any size will work as long as it fits on the paper. This square will act as the tile for the print. Everything will be glued on top of this piece of cardboard.
Brainstorm a design you would like to print. Think of natural items like leaves, flowers, trees, vegetables, or animals. Start with something simple that you can cut out. Once you have thought of what you want to print, draw out the pieces on the empty cereal or cracker box. You can free hand them or can trace the cardboard square and draw within it.

Cut all your pieces out of the cereal box cardboard. (Hint: If you have a lot of pieces to cut, you can number them and take a picture to remember where they go.)
Glue all the pieces onto the cardboard tile in the design you would like. Feel free to add additional pieces to fill in any blank space.
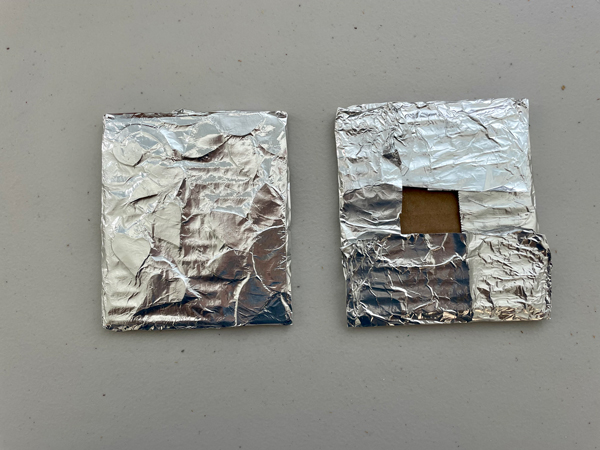
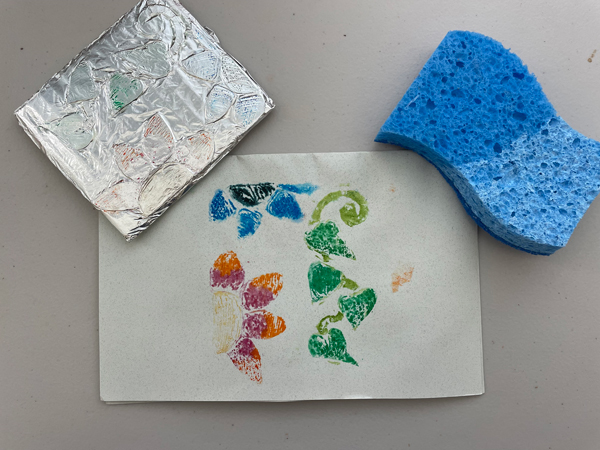
Once you are happy with your design, rip off a sheet of aluminum foil that is about double the size of your tile. Cover the front of your tile where the design is and fold the edges behind the square, making sure the foil is wrapped tight. Press down and smooth the foil on the front using your finger until you can see the outline of your design showing through.
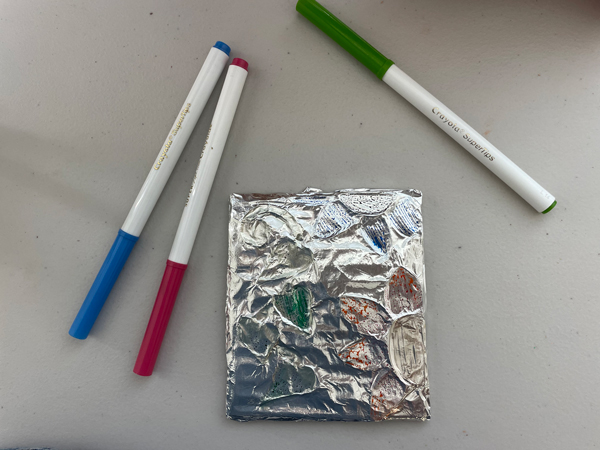
Use markers to color the design. The marker ink will stay on top of the foil rather than soaking in. This is how the print will transfer to the paper. The marker will be hard to see on the foil, but it will show up very clearly when you make your print.
Before stamping the print, wet a sponge and squeeze out any excess water. Make sure it is damp but not dripping wet. Rub the damp sponge over the section of the paper where the print will go.
Quickly place the print with the marker ink face down on the paper before it has the chance to dry. Hold it still so it does not smear and press down hard with the palm of your hand on all areas of the tile to make sure the ink transfers. Gently, pull the print off the paper and admire your collagraph print.
Keep your tile to print as many times as you would like. Enjoy making different colored prints and try printing multiple tiles on one piece of paper to create a patterned print.
