Matthew Tetreault
THBG Conservatory Horticulturist
With spring just around the corner and longer days already bringing your houseplants into their active growing season, it’s time to start thinking about repotting. Some might think this a daunting task, but with a few helpful tips and by following these simple steps, you’ll be able to repot your home collection quickly and easily!
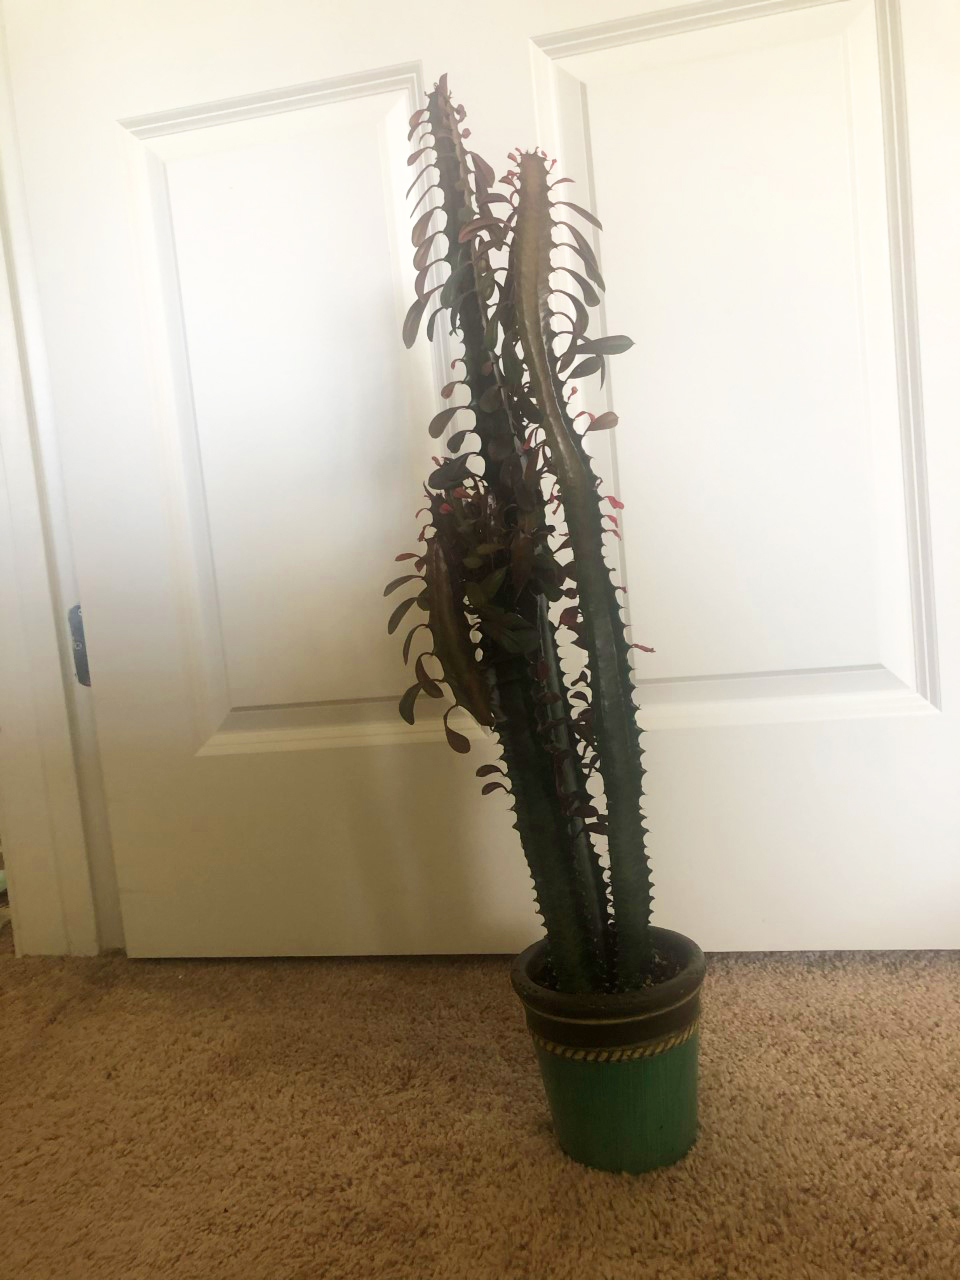
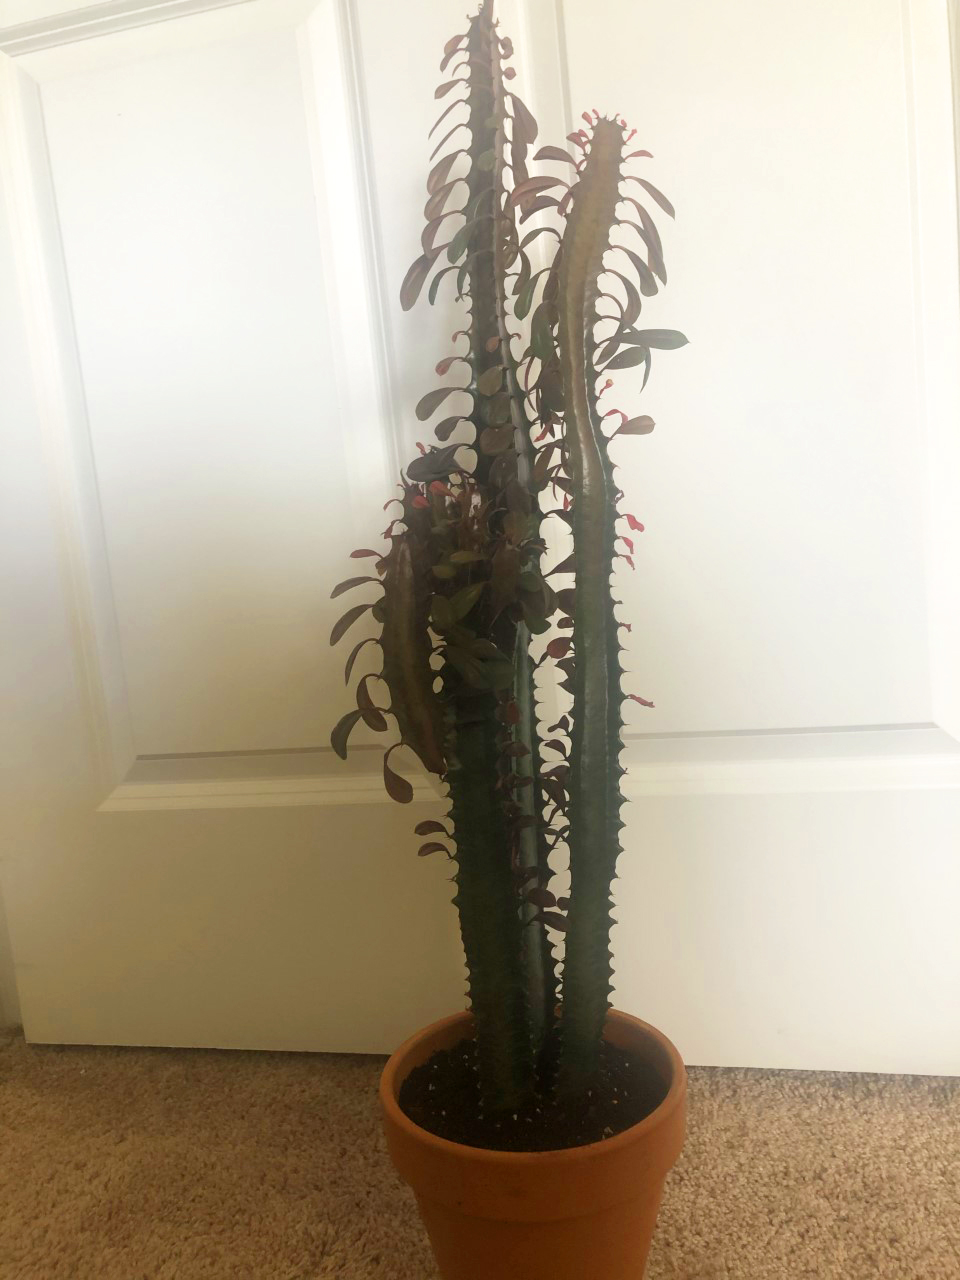
First and foremost, I just want to mention that a newly purchased houseplant that is still in its nursery pot should not be potted on right away. You want to give your new plant at least a week to acclimate to its new environment in your home. Now, the first thing you want to do is assess the plant and determine if it should stay in the same sized pot or be bumped up a size to give roots more room. Plants that have become completely rootbound will require a larger pot, while plants that have not yet filled their pot can be potted into the same sized pot. Generally, only increase the pot size by one. If you do not want your plant to grow much more and are satisfied with its height, repot it but use the same sized pot. As you can see in the photo below, this Euphorbia trigona has clearly outgrown its pot and will greatly benefit from being bumped up one pot size. This will also help with plant stability.
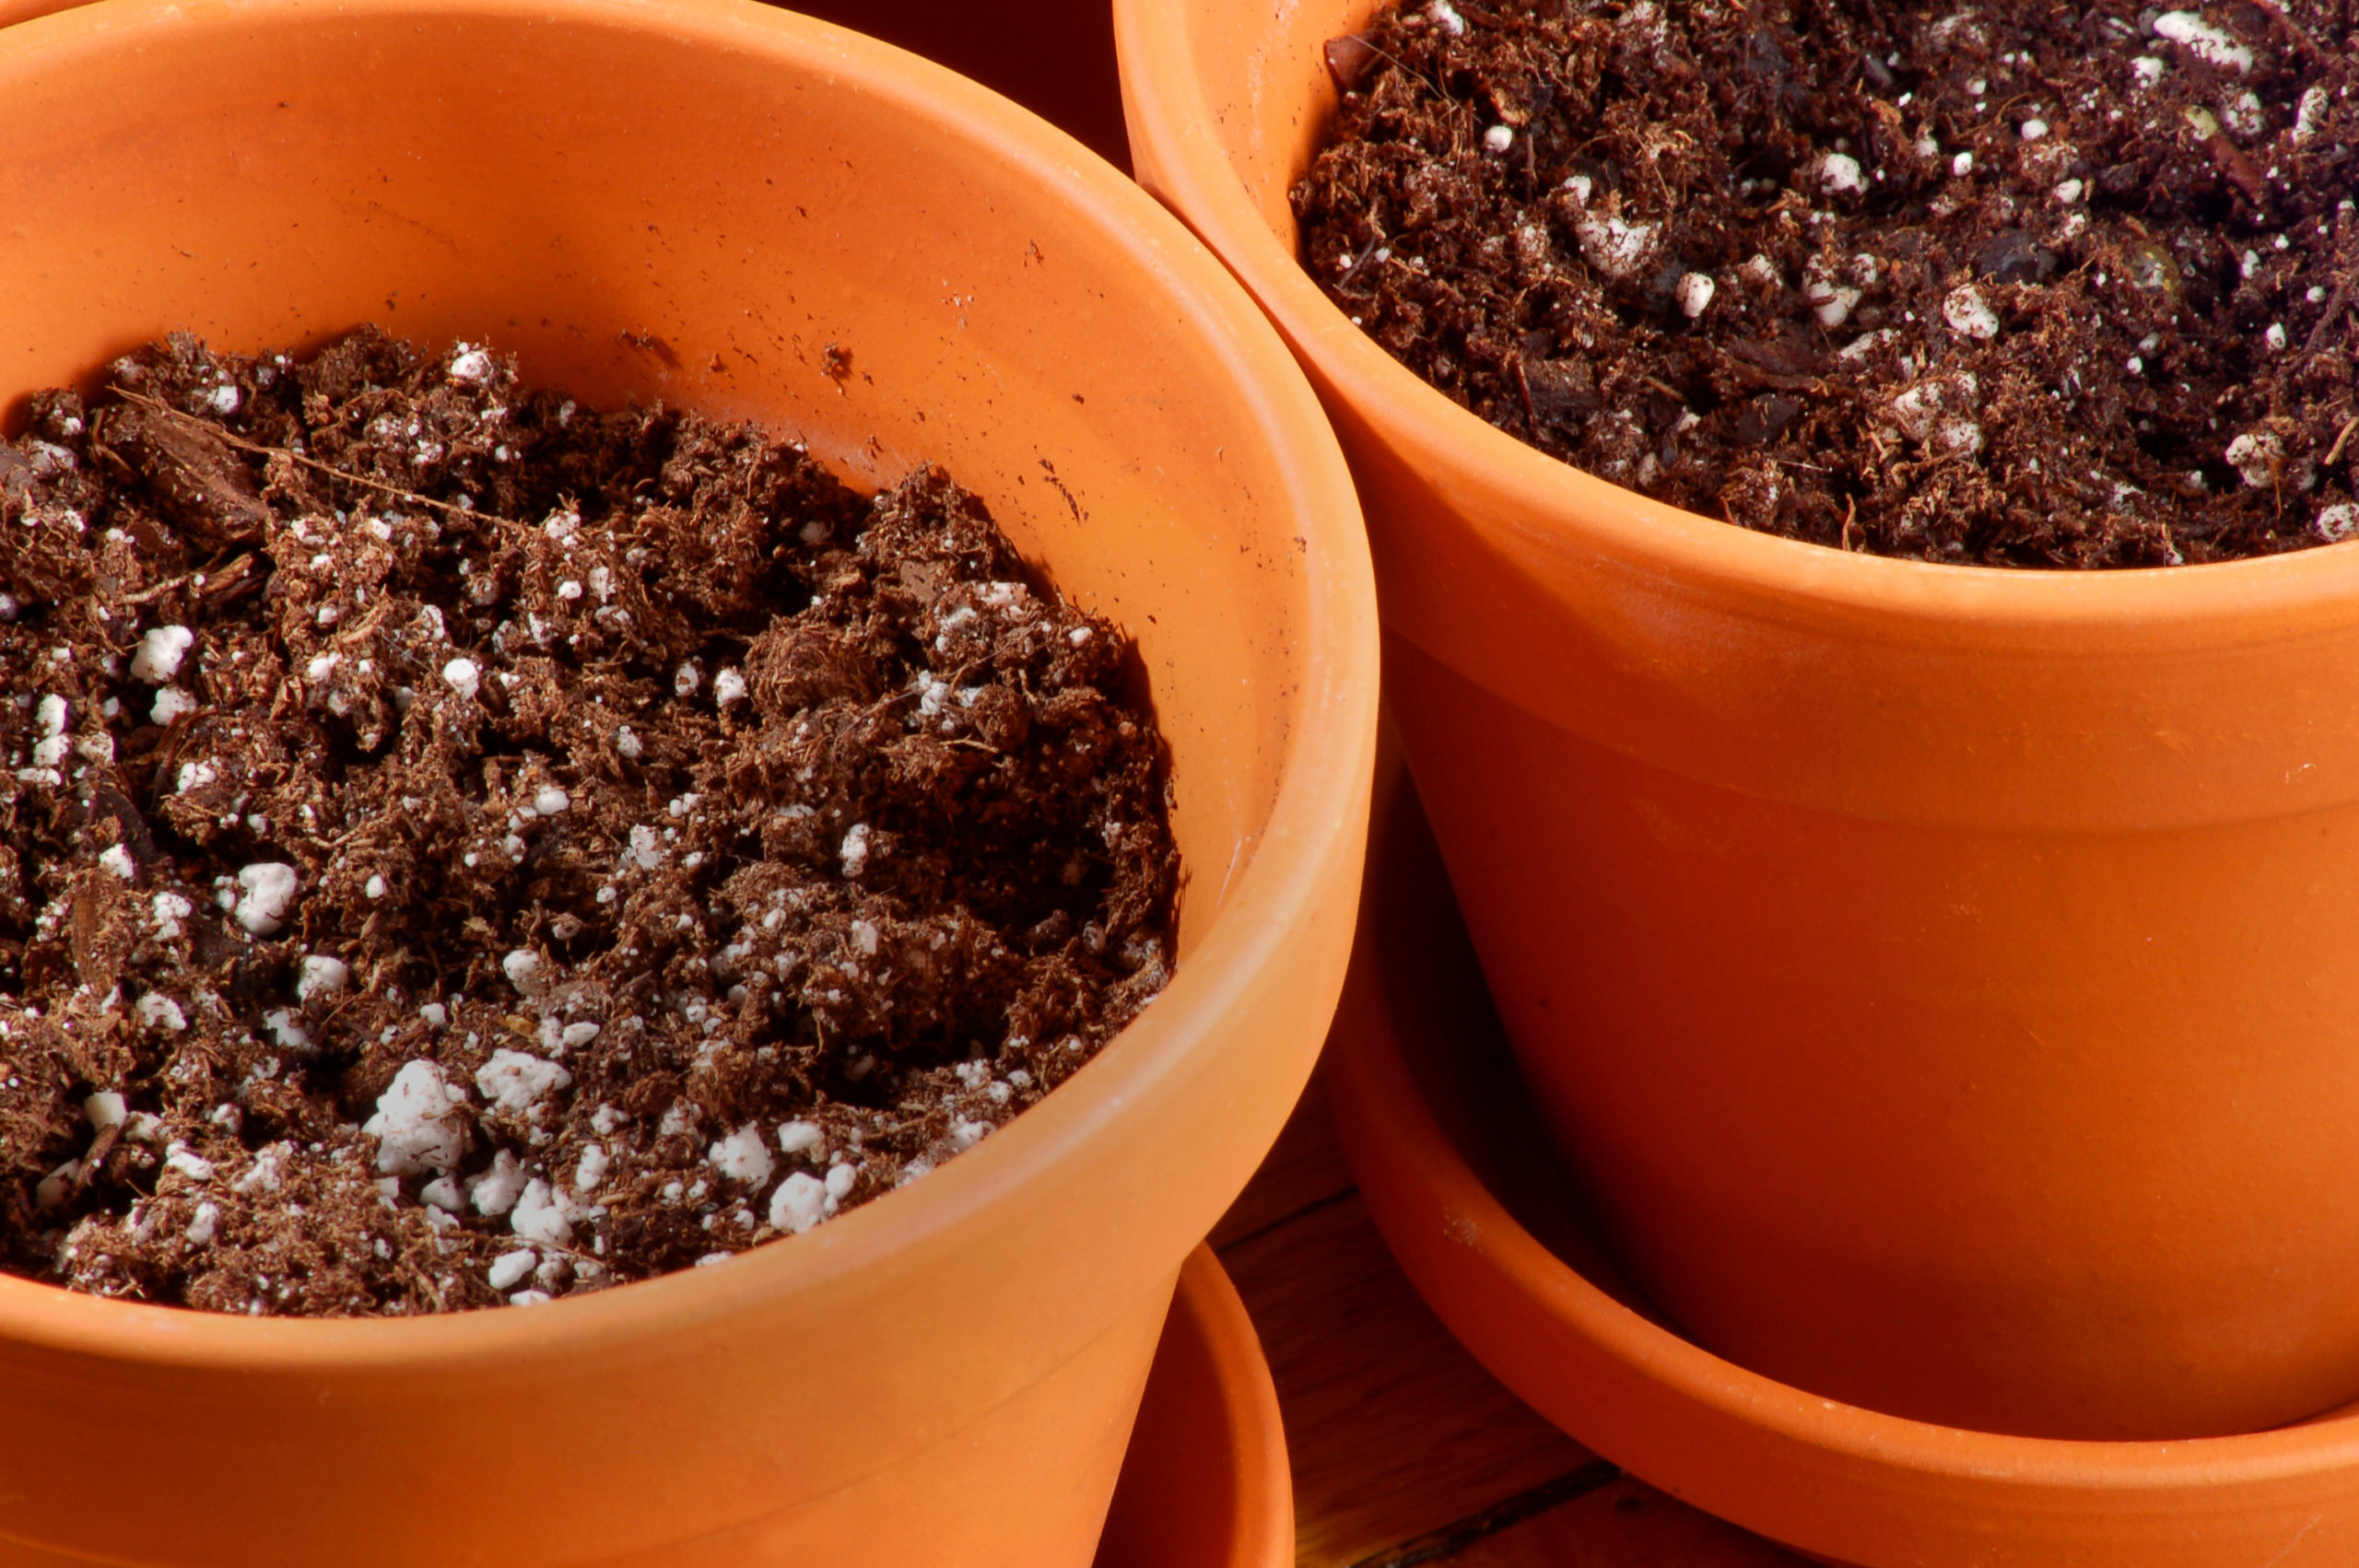
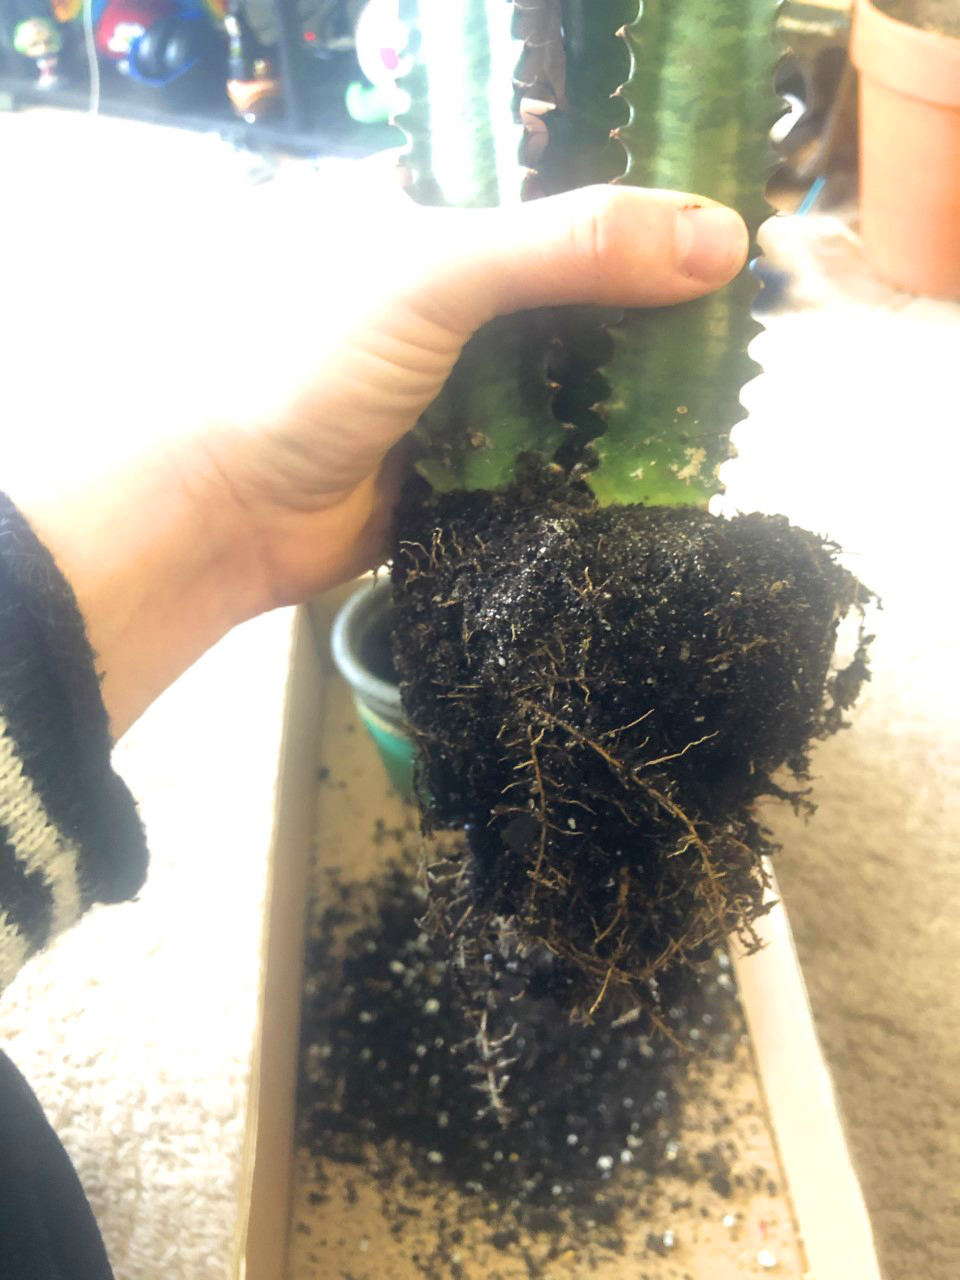
Next, remove the plant from its pot and gently remove as much of the old, nutrient deficient soil as possible without tearing away too many roots. Make sure you are using the right kind of soil for your plant. The Euphorbia trigona being used as an example prefers well-drained soil, so I will be using a cactus mix.
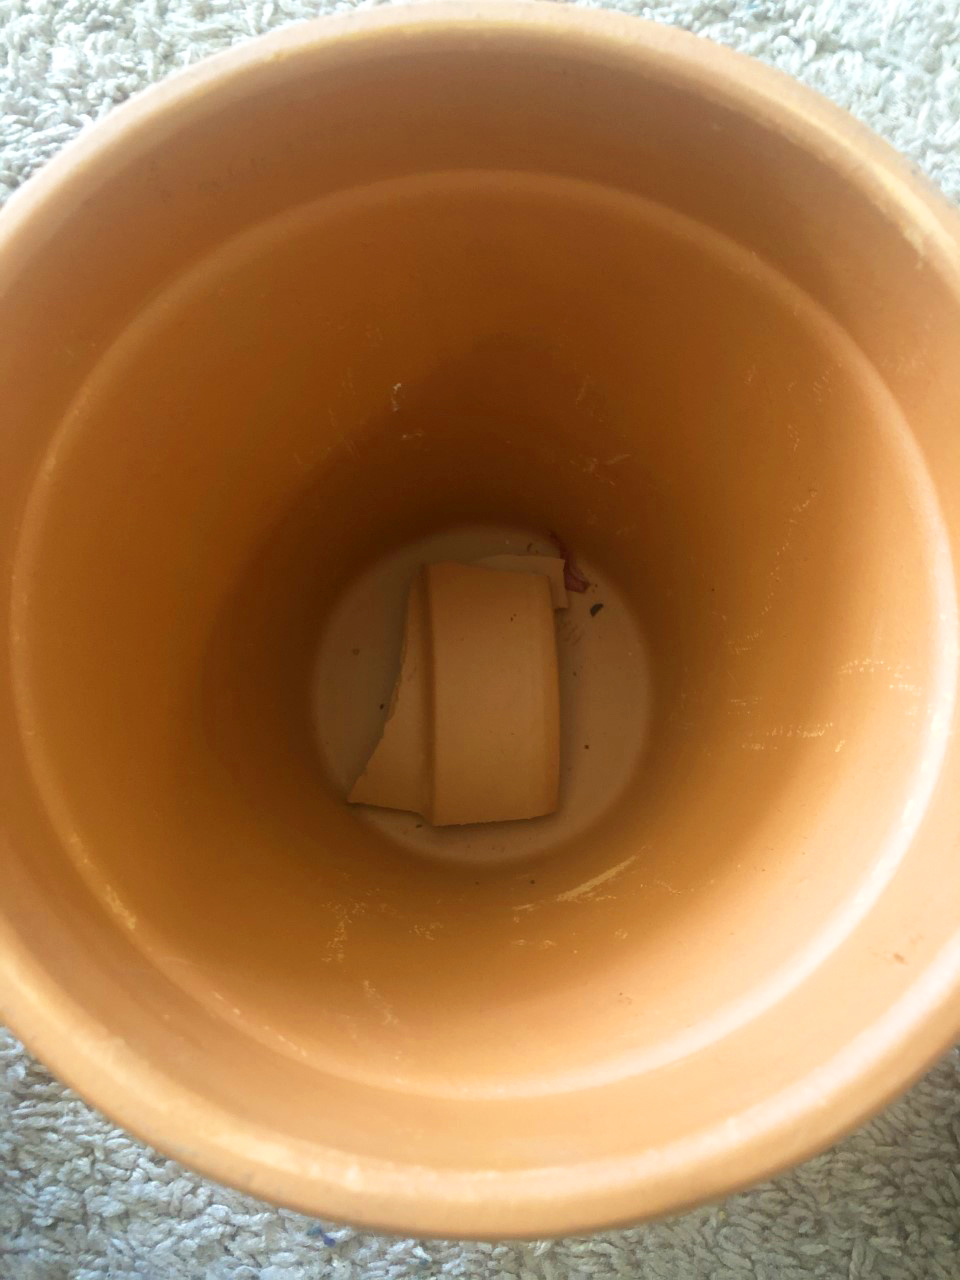
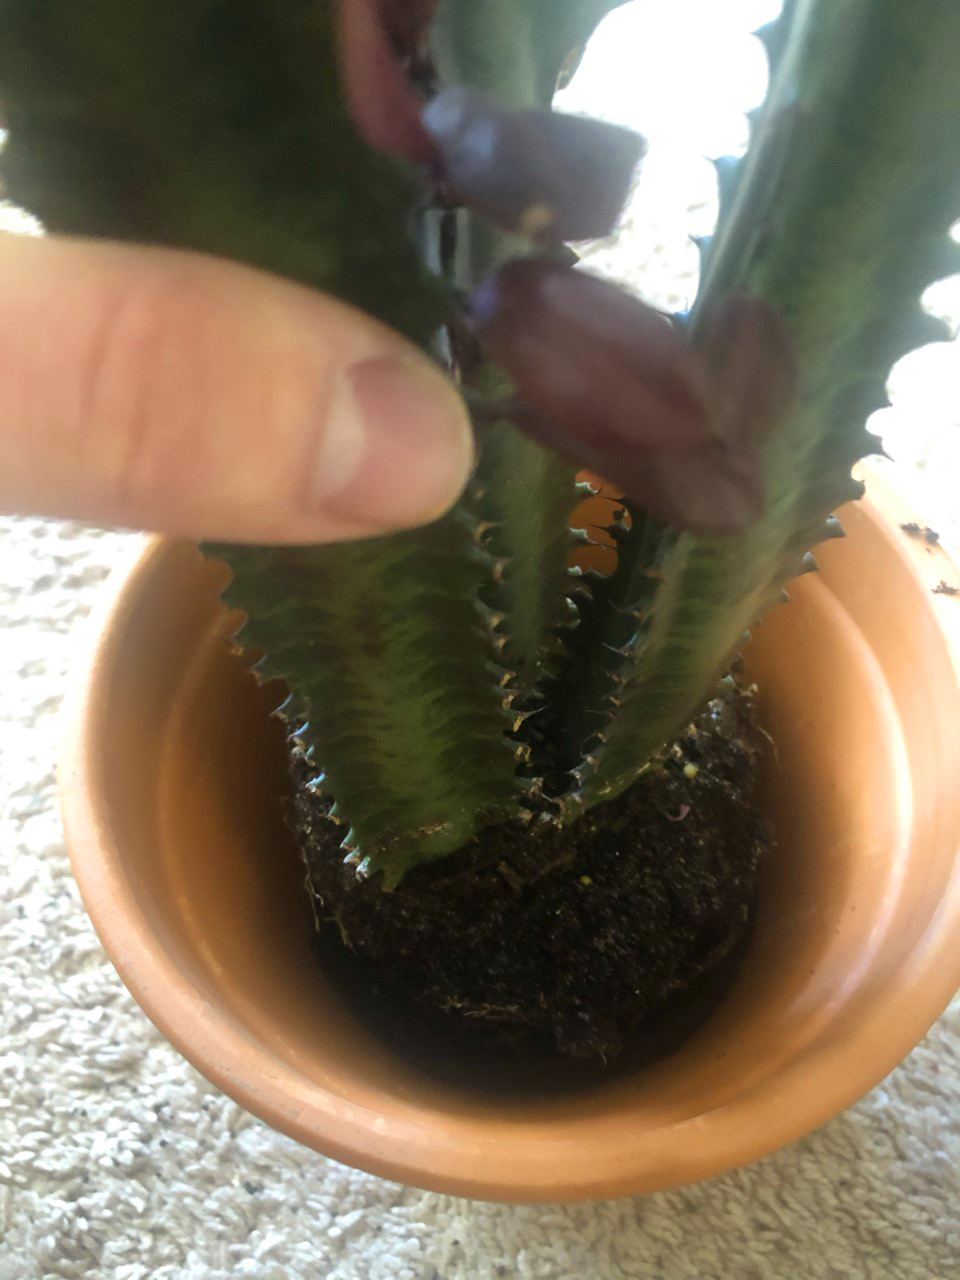
Next, prep your new pot. I like to add a layer of small pebbles at the bottom of the pot to provide extra drainage, or increase drainage surface area by putting a curved piece of terracotta over the drainage hole. Just make sure you don’t use a flat piece that will block drainage altogether!
Add your new soil to the pot a little bit at a time. As you add soil, periodically place your root ball/plant in the pot to gauge how much more soil you’ll need to add before actually setting the plant into place. Be sure to leave about one inch of space at the top of the pot to make watering easier.
Now, place your plant on top of the new soil and start filling in around the base of the plant. Remember, you want the soil level to be at the base of the plant, just as it was in the previous pot. Going above the base line could lead to girdling roots that can choke out the plant. Generally, girdling roots are more of an issue for plants that have developed a woody trunk. They are roots that circle around the base of the plant rather than growing downward into the soil. Back to our Euphorbia example, you can see I have now added all the soil necessary and have left about an inch of space for watering.
As repotting causes a plant to undergo a small amount of stress due to the handling and loss of some roots, do not water your newly repotted plant right away. Wait a day to give it some time to acclimate to the new soil and then water.
And there you have it! Repotting is as simple as that. Obviously, different plants have different needs, so be sure to do a little research on your plant prior to repotting to ensure you are using the correct type of soil. If you have any questions please feel free to email me at mtetreault@nebg.org and I will be more than happy to answer any of your repotting questions!