Marissa Gallant
Youth Education Manager
As a world of imagination and discovery in a box, sensory bins are the perfect way to keep your young friends, learning, tinkering, experimenting, and most importantly, entertained. The best part is you can make your own unique sensory bin with items you already have at home. Scour your cupboards, break open your craft supplies, and go through your child’s toy box. Once you start searching you will be amazed at what you can find for materials. Creating a sensory bin for the first time? Read through our tips below to get started and check out some of our favorite nature themed bins for inspiration.
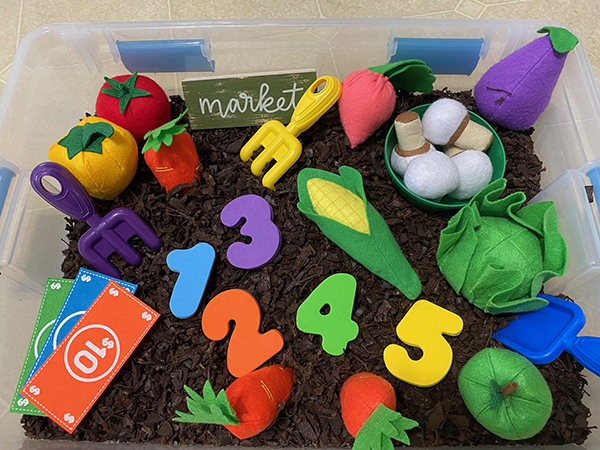
Farmer’s Market
Why Sensory Bins?
Sensory bins encourage open-ended play and provide endless opportunities for experimenting and learning. Sensory bin play engages multiple senses, stimulates critical thinking, promotes problem solving, and fosters creativity and imagination. Children may become scientists as they explore the ocean depths, bakers as they concoct mud pie recipes, or gardeners as they plant and harvest flowers, fruits, and vegetables. The addition of tools such as tweezers, tongs, droppers, and measuring cups can help strengthen fine motor skills and colorful letters and numbers can help with color recognition, counting, and word formation. No matter the theme or items you choose, get ready for hours of educational play.
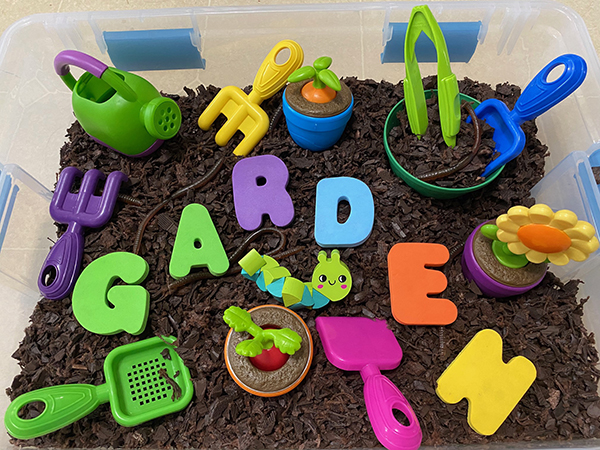
Growing a Garden
Picking a Theme
Before you start raiding your kitchen cabinets, pick a theme for your sensory bin. Work with your child to brainstorm a list of themes – from fairies to construction sites – there are no right or wrong answers but choose something that your child is passionate about. To enhance the learning experience and extend the fun, try selecting some stories that fit your theme.
Choosing a Container
Once you have a guiding theme for your sensory bin, decide what kind of container you will use. This will depend largely on your theme, how long you want your sensory bin to last, and how many children will be playing in your bin. Shallow Tupperware containers or foil baking pans work well for one child and will require less material to fill up but will not last as long. For multiple children, try opting for a larger container. Shallow storage bins work great and can be reused. Plus, the locking lids ensure no mess if you want to transport or store your finished product.
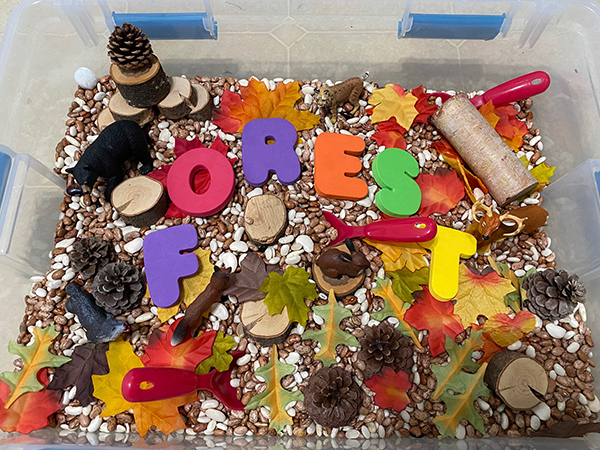
Fantastic Forests
Fill it Up!
The filler is one of the most important pieces for your sensory bin. Choose something that creates visual interest, fits your theme, and is fun to play in. Try using packing peanuts or cotton balls as snow or create an autumn harvest theme with popcorn kernels. Beans work great as dirt and pasta or rice can be dyed to represent anything your child dreams up – from fairy dust to grass. Leave your grains natural or add color by combining 1 cup of your dry goods with ½ teaspoon of vinegar and 5 to 10 drops of food coloring depending on your desired shade. Let dry and your filler is ready for play. You can also pick up rubberized mulch or sand from your local hardware store. When all else fails, water, or dirt work just as well. Fill your container up with water and try a pond or ocean theme or throw in some soil, baking pans, muffin tins, and mixing bowls and make mud pies!
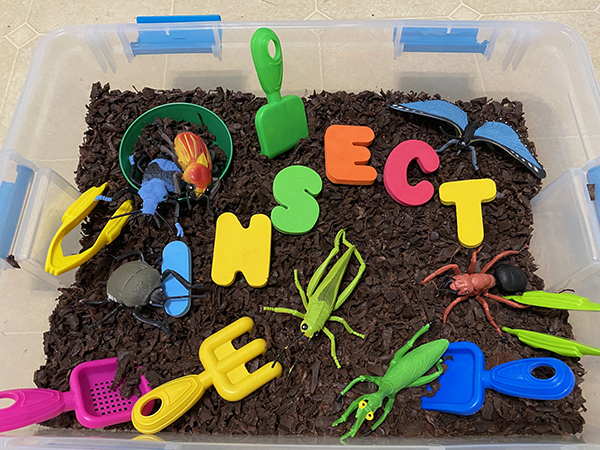
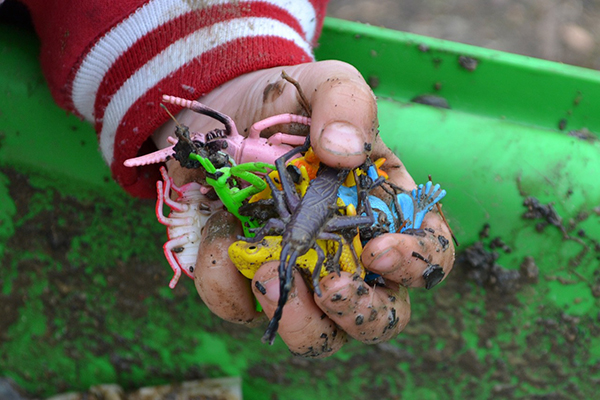
Incredible Insects
Toys, Toys, Toys
No need to go out and buy more toys for your bins. Dig through your child’s toys, your craft supplies, and your kitchen cabinets to find items that fit your theme and promote learning. Set aside some of your child’s favorite or toys or find a new use for those long forgotten including, animals, plastic foods, small stuffed animals, blocks, cars, trucks, boats, characters, numbers and letters, toy shovels, and anything else you or your child finds interesting. Play items are not just limited to toys. Incorporating natural items is a great way to bring the world outdoors in. Next time you are out exploring create a scavenger hunt and search for natural materials for your bin. Sticks, stones, pebbles, acorns, and pinecones are all great options. Raid your craft supplies for beads, buttons, marbles, ribbon, pom poms, foam shapes, cotton balls, and fabric scraps or check your kitchen cabinets for items that can act as tools or instruments. Tongs, ice cube or muffin trays, spoons, measuring cups or spoons, basters, and small bowls can help to improve coordination and strengthen fine motor skills like scooping, grasping, and pouring. There are also are many kid friendly versions of some basic scientific tools including tweezers, eye droppers, measuring cups, and magnifying glasses.
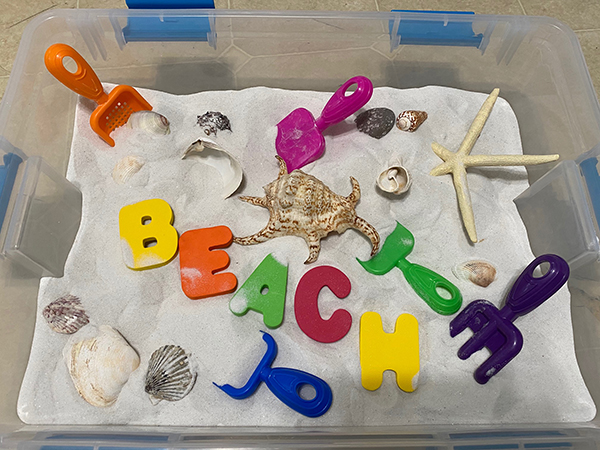
A Day at the Beach
Setting Up
Sensory bins by design are a messy experience – but that’s part of the fun! To reduce your clean up time put a tablecloth, tarp, or old sheet or blanket underneath your bin. Anything that spills out can be easily dumped back in once your child is done playing. Or take your bin outside on a nice day but be sure to leave any items or filler that can be harmful for animals or the environment like packing peanuts or rice indoors. Additionally, be sure to set clear rules and expectations for your child before beginning. Explain that the contents are not to be eaten or tossed around and supervise the play to make sure everyone stays safe.
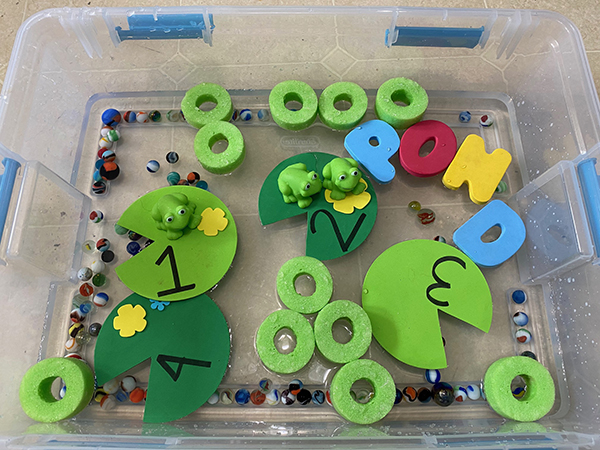
Pond Adventures
You’re ready to get started! Wishing you and your little ones hours of fun, educational sensory play. Have questions on materials or need advice getting started? Email youtheducation@nebg.org.
