Seed Mosaics

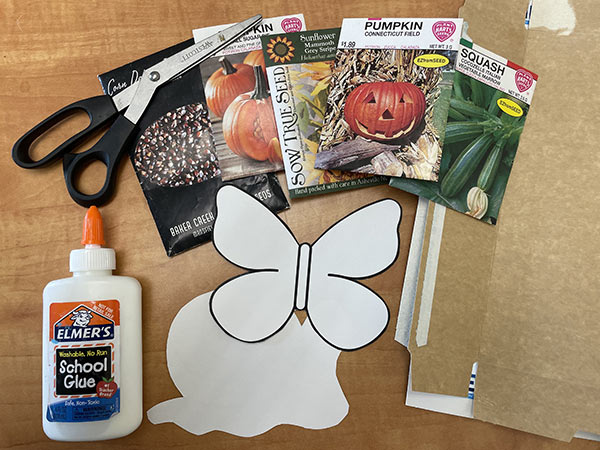
Materials:
- Cardstock Paper or cardboard
- Seeds (beans, pumpkin, sunflowers, etc)
- Liquid Glue
- Scissors
- Bowl(s)
- Tweezers (optional)
Mosaics is a delicate art of creating designs and images using small colored materials like stones, tiles, and glass. Although not a usual medium, seeds fit this type of artwork perfectly. Seeds come in all shapes, sizes, and colors. Large pumpkin seeds, patterned sunflower seeds, and even corn kernels can be used to design a unique mosaic. These mosaics can provide a great activity to observe and examine seeds, symmetry in nature, and other art like mandalas.
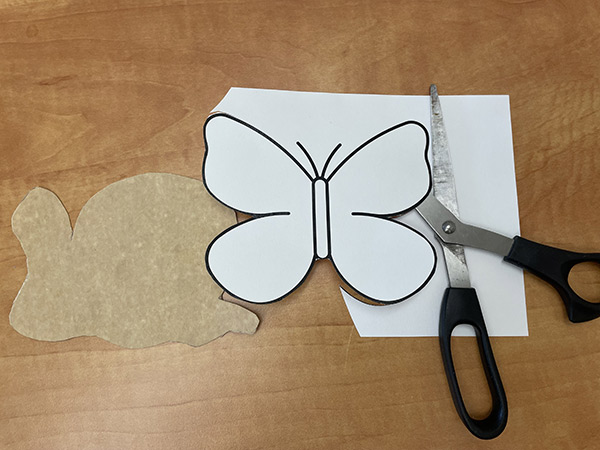
Choose from the images here or create your own mosaic image. Print the image on cardstock or trace it onto a thin piece of cardboard and then cut out the image. You can also draw your own animal shape if you don’t want to use the template. It is important to choose a thicker surface for this activity to hold the weight of the seeds.
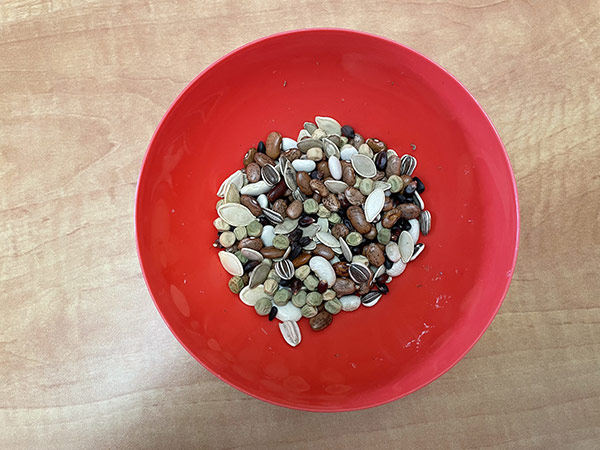
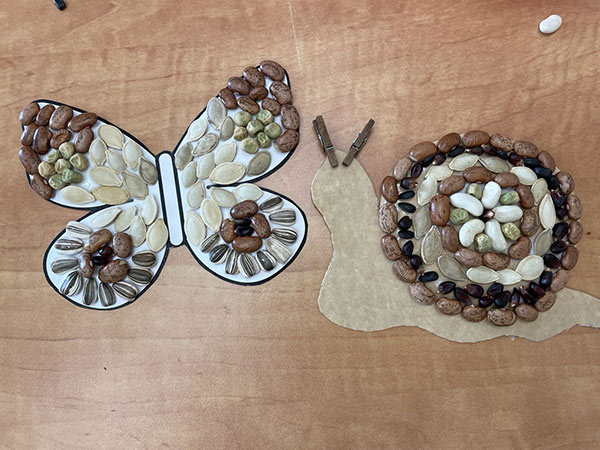
Empty your seed packets into a bowl, or multiple bowls if you would like to separate each seed by type. Try to choose seeds that are larger because they are easier to handle. Take some time to observe each seed closely and have your students try to identify what seed goes with each plant. The seeds in the photo above are as follows: sunflower, pumpkin, squash, sugar pea, beans, and black corn kernels. See if you can identify which seeds in the photo go to each plant listed above.

Lay your seeds onto your animal outline and arrange them in different ways, testing out what your design or pattern could be before you attach the seeds. Think about what colors should go next to each other and what seed shapes fit together nicely. These seed mosaics will not fit perfectly together but try to place the seeds close together to hide the background when you are ready to glue.
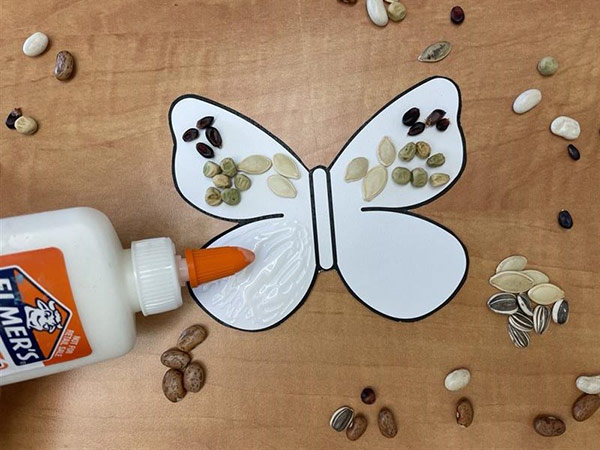
When you are happy with your design, glue the seeds to your paper or cardboard. Squeeze a thin coating of glue onto a small section and then place your seeds. Continue going section by section until your mosaic is complete. You can use tweezers to be more precise as you place the seeds.
Allow the glue to dry and show off your artwork! Extra: Add magnets to the back or hole punch and string your seed mosaic to display it.