
Matthew Tetreault
THBG Conservatory Horticulturist
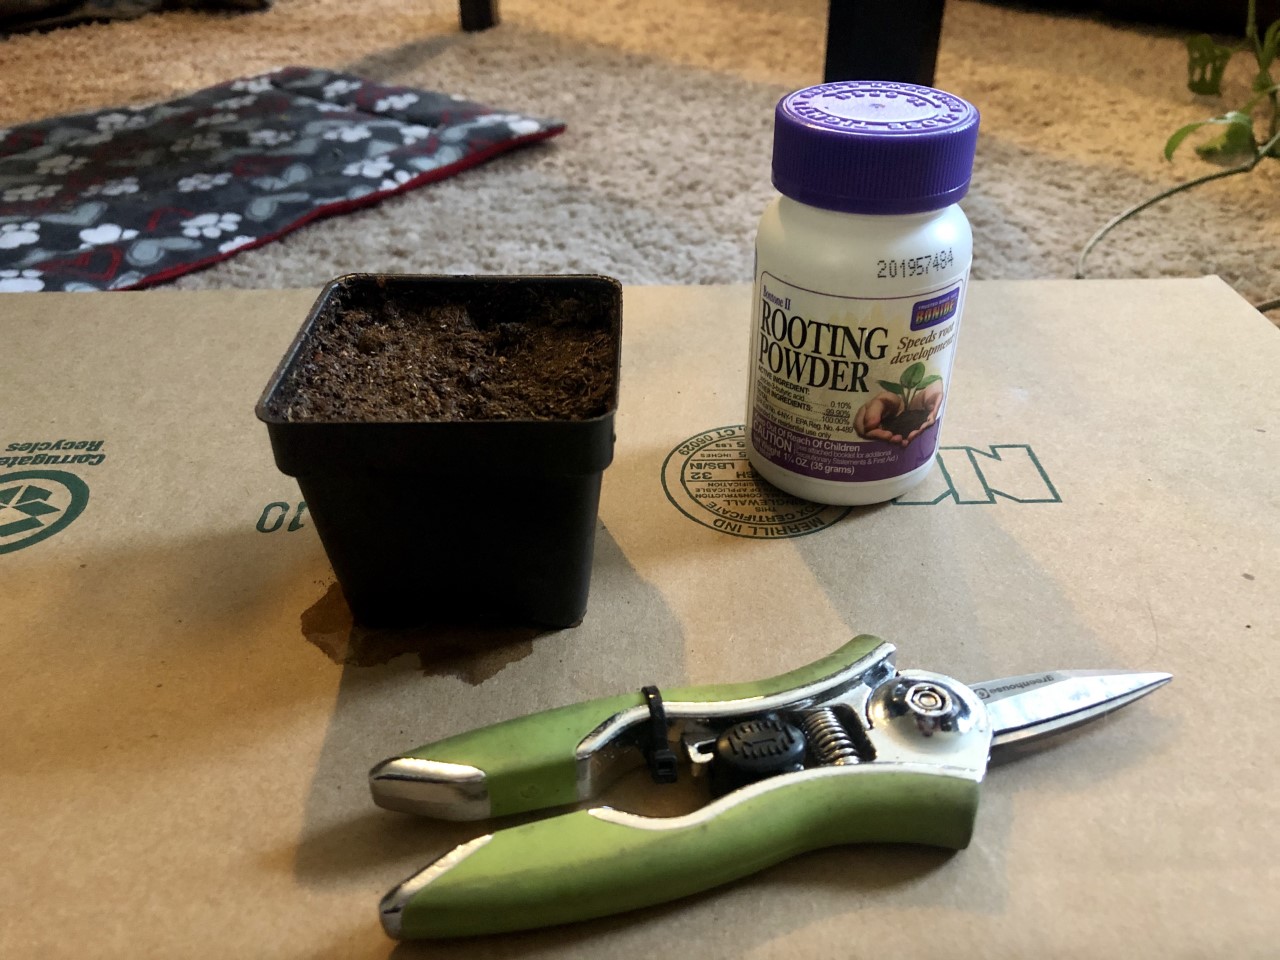
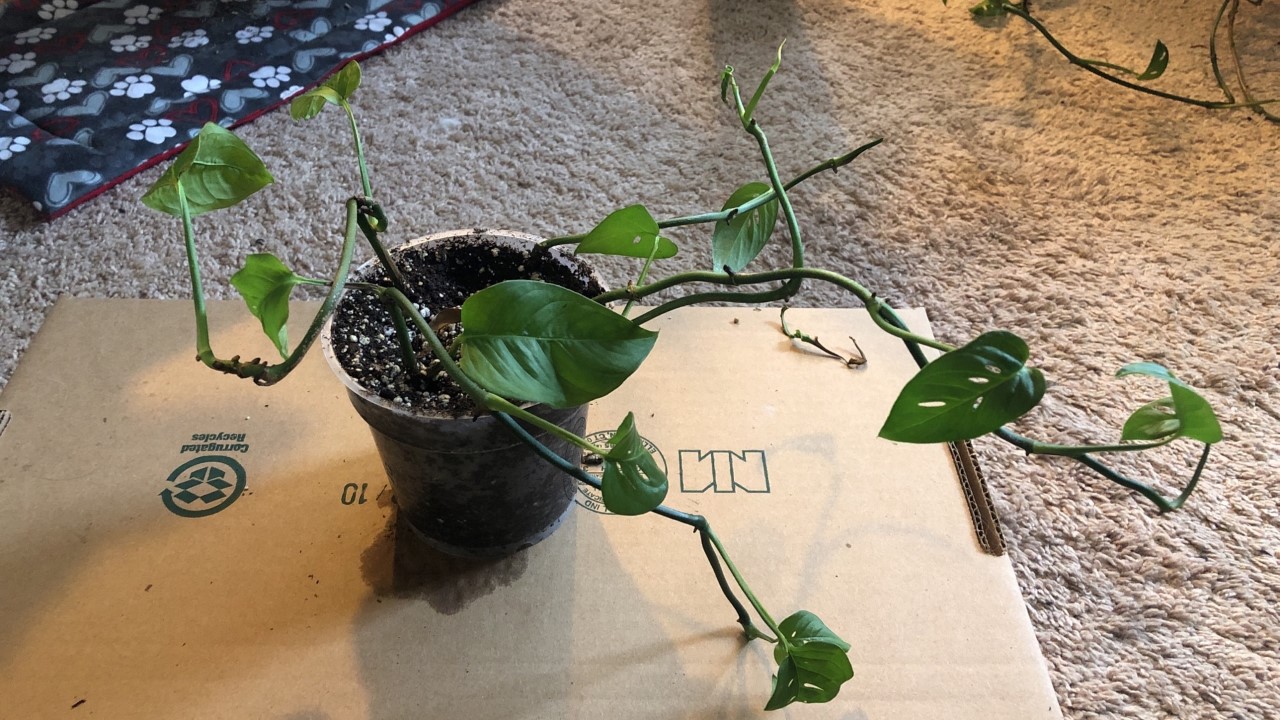
For this demonstration, I will be pruning and taking cuttings from my Monstera adansonii. As we can see above, it has put on a lot of growth and become a bit scraggly. Most vines respond quite well to a good haircut, so I’ll be cutting this one back pretty heavily. For starters, you’ll want to make sure you have a few things on hand including a sterilized pair of pruners or snips, small nursery pots, fresh potting media, and rooting hormone (optional).
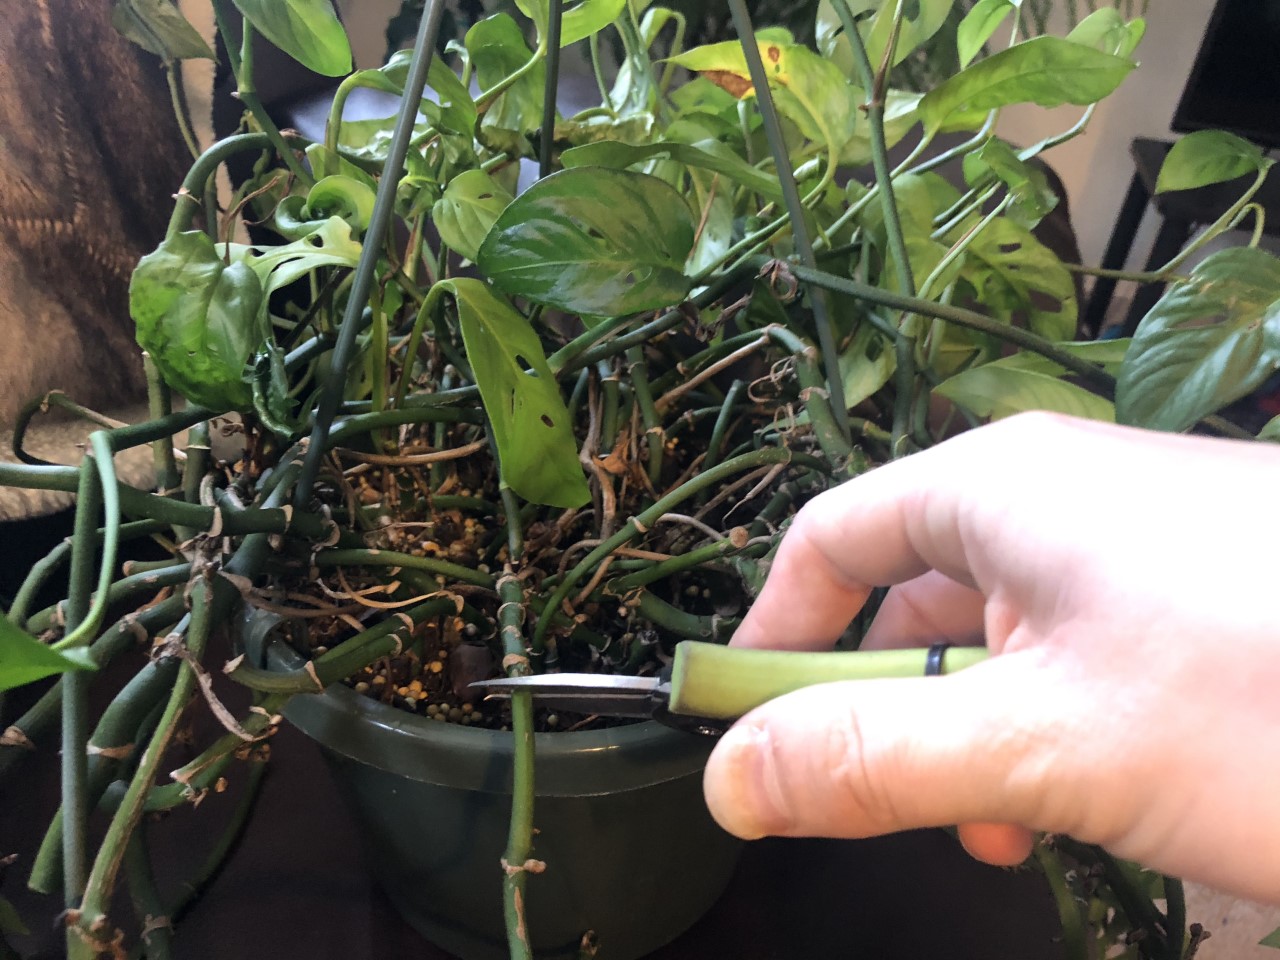
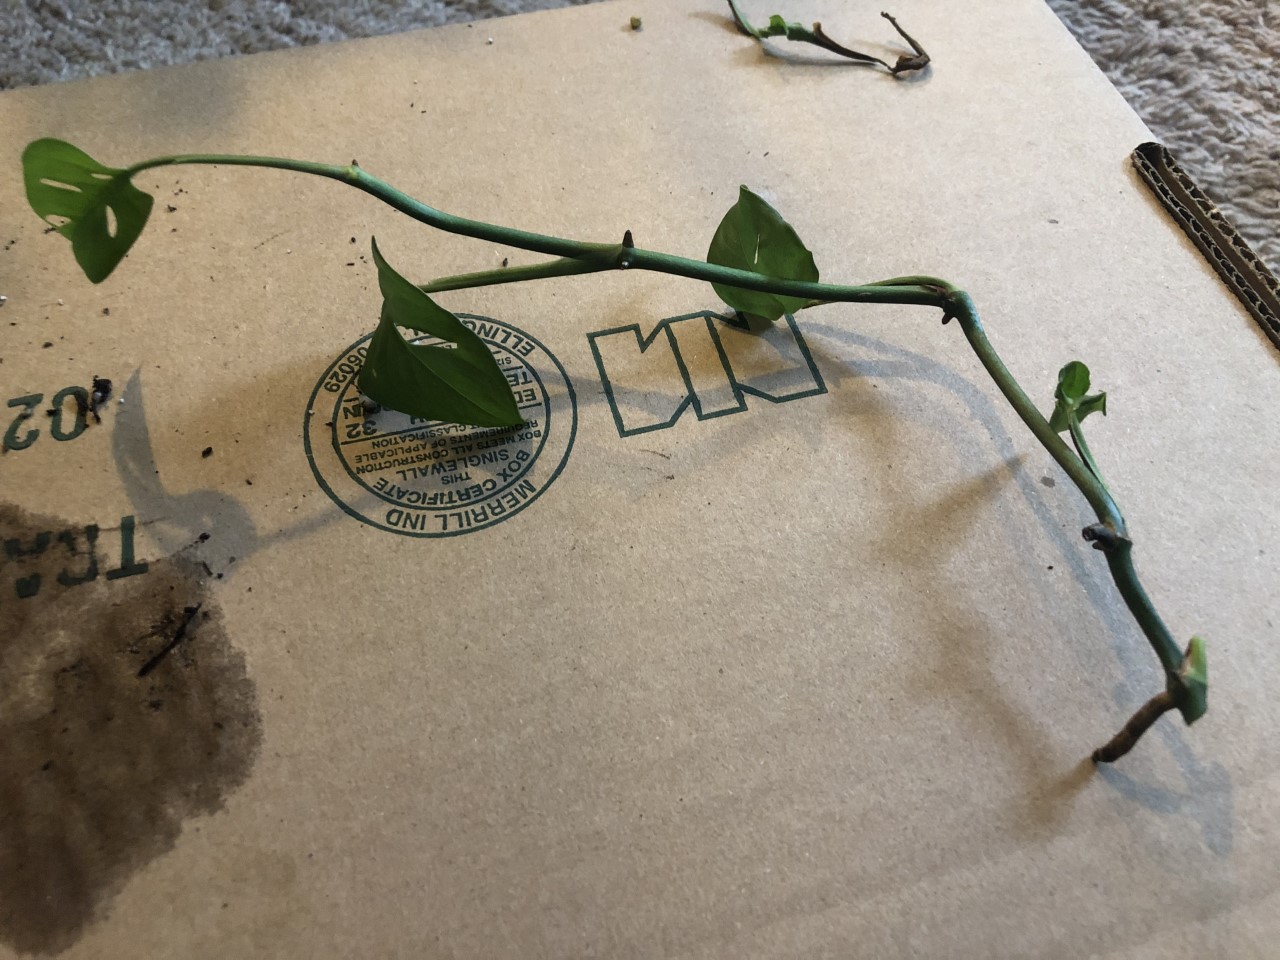
1) First, take your sterilized pruners and decide how far back you want to take your plant. As you can see below, I’m taking cuttings pretty close to the base of the plant to help encourage healthy new growth. Note that I am making my cut just after a node. We will talk more about this when we get into propagating your cuttings. Continue pruning around the pot until you are satisfied with the overall form. Below you can also see that I have been quite liberal with my pruning (though I may take off even more!) For now I am happy with the overall size of the plant and will save any additional pruning for later.

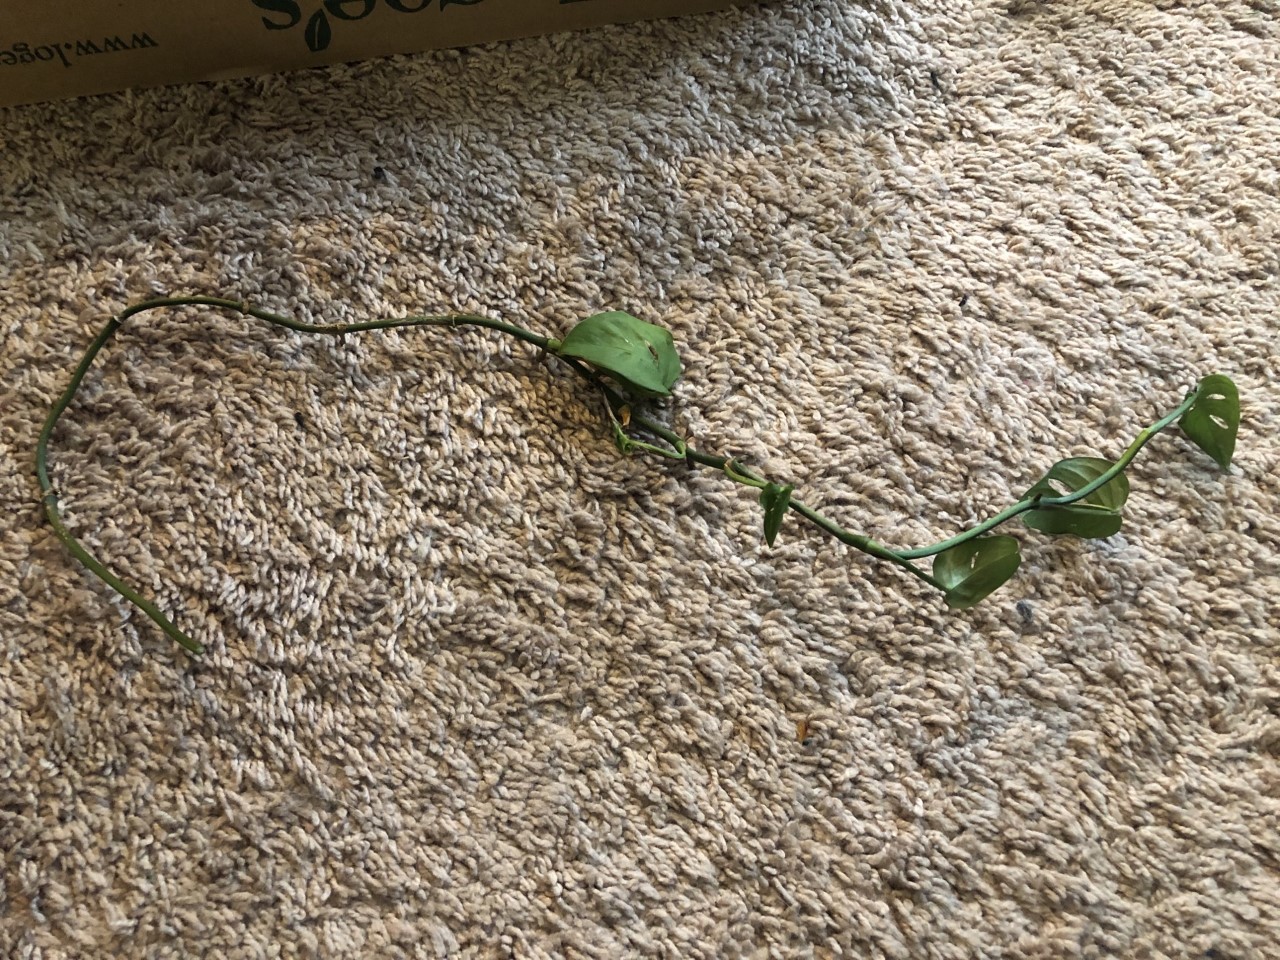
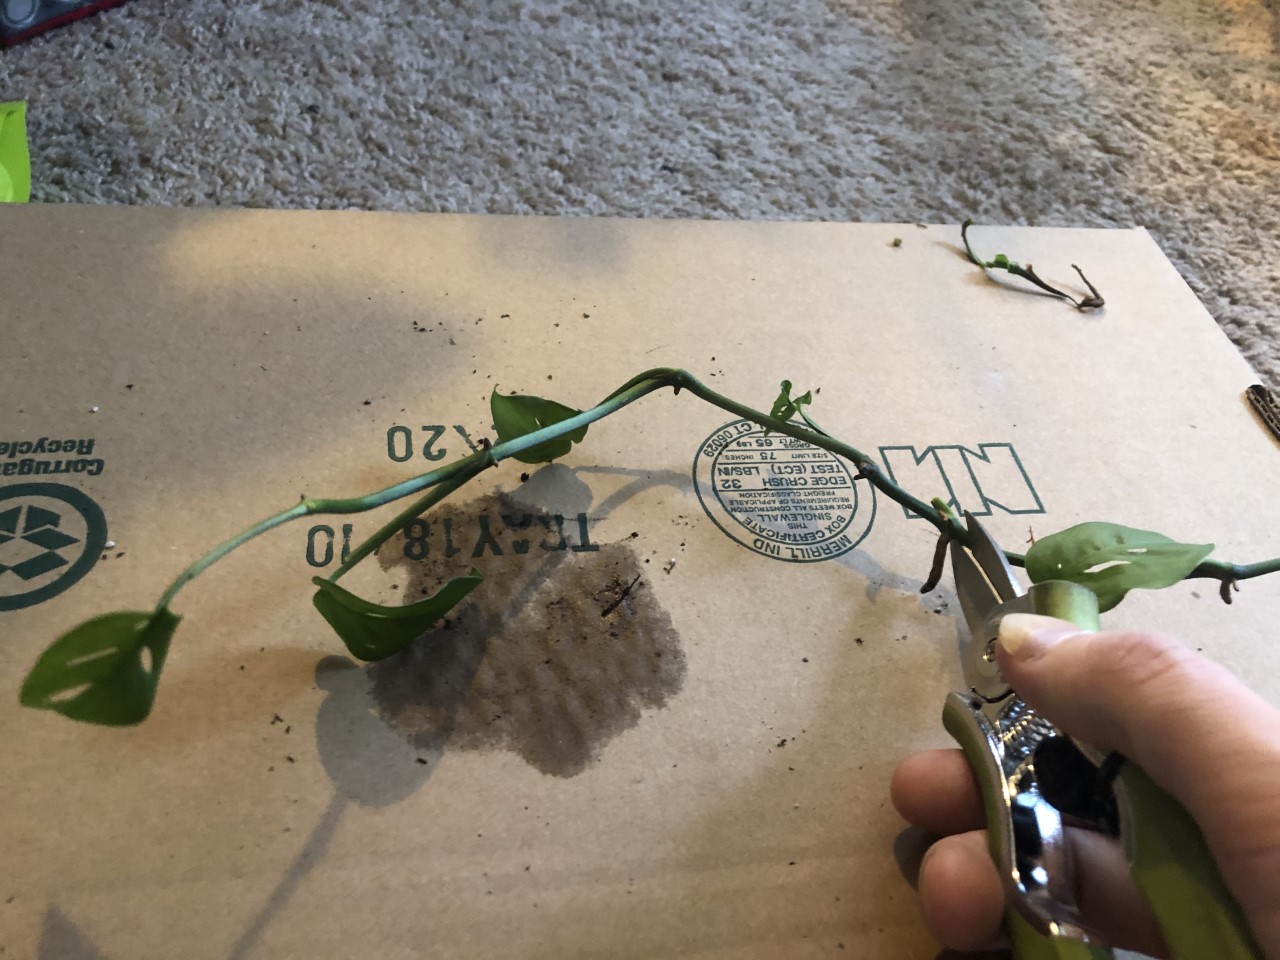
2) Now that pruning is done, it is time to do some propagating. Take one of your long cuttings, like the one below, and cut it back further. This time, pay careful attention to where you are making your cut. Trim back the cutting to about 4-5 inches where there is active growth. Note how I am making a cut just below a node. It is important to cut below the node as this is where the cells responsible for pushing out new roots are located. If you look closely, you can see that the node I chose to cut below already has aerial roots emerging.
3) There are several ways to get your new cutting to root. I find M. adansonii to root very easily, so I don’t bother using a rooting hormone, but you may do so if you wish. If you use rooting hormone, always make sure to read the label first. Then, simply take your cutting and dip it into the hormone, just enough to cover the node that will be inserted into fresh potting media. Gently tap off any excess rooting powder and simply insert it into pre-wetted potting media. As I said, I don’t find hormone necessary for this plant in particular and I stick fresh cuttings right into a nursery pot filled with pre-wetted fresh media. I have also had success simply placing a cutting in water until I see healthy new roots emerge. If you choose to propagate by water, just be sure not to let the cutting sit in water too long after roots have emerged. To create a fuller new plant, stick several cuttings into your pot, as I did below.
4) I like to take as many cuttings as possible. After all, half the fun of being a houseplant enthusiast is sharing your cuttings with friends and other enthusiasts! Once your cuttings are all set, place them in an area that receives filtered sunlight as too much direct light will cause burning. Keep the cuttings relatively moist and do not allow the potting media to dry out. After about a week, you should notice new white roots starting to push through the drainage holes of your nursery pot indicating that you have successfully propagated your plant! About a week after you notice new roots, feel free to gently repot the new plant into a slightly larger pot to give it more room to grow!
As always, if you have any questions, please feel free to reach me at mtetreault@nebg.org.