Spring and summer bring new growth and along with it a variety of plant life to explore. Grab a field guide and head outside to identify some of your favorite backyard plants, wildflowers, and trees and get some inspiration for bringing a bit of nature indoors by preserving some of your favorite specimens. Keep a look out for interesting leaves or plants and be sure not to pick anything that is growing in natural areas. Remember to leave no trace and collect only plants or interesting leaves you find on the ground or pick from your own garden with an adult’s permission. You can even work with an adult to try creating your own cut flower garden. Listen in to get some tips on growing your own flowers – perfect for pressing or creating bouquets and arrangements. Practice the basics of plant pressing and follow the simple steps below to create a miniature flower press using recycled materials.
You will need:
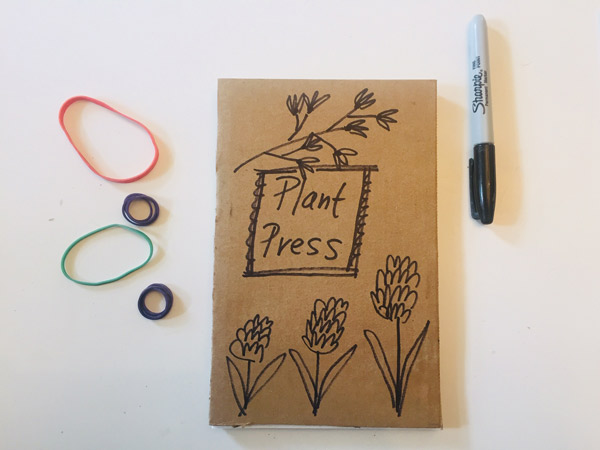
- Corrugated cardboard
- Empty cereal or cracker box
- Scissors
- 3-4 rubber bands
- Plain copy paper
- Fresh flowers or leaves

Once you have gathered your supplies, begin by cutting 2 pieces of corrugated cardboard to approximately 8 ½ inches by 5 ½ inches. Use a ruler or fold a piece of copy paper in half to guide your measurements. These two cardboard pieces will act as the top and bottom of your plant press. Cut 2 pieces of your cracker or cereal box cardboard to the same size as your corrugated cardboard and fold 6 pieces of copy paper in half lengthwise to fit inside your press.
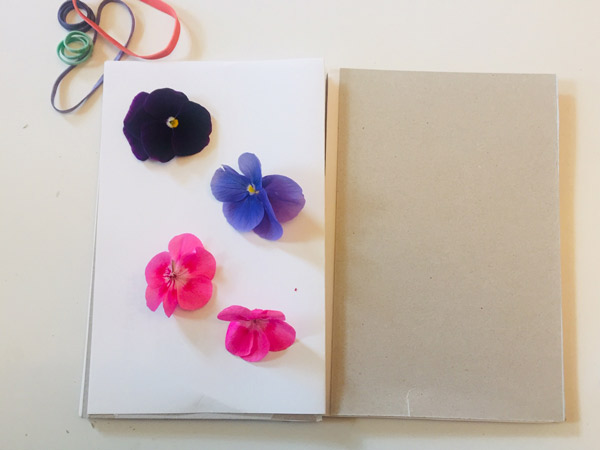
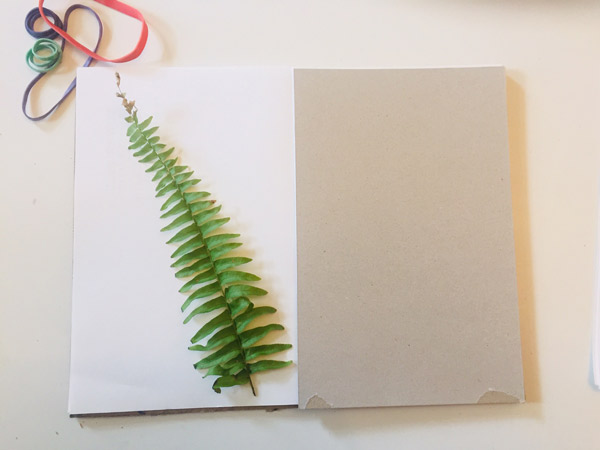
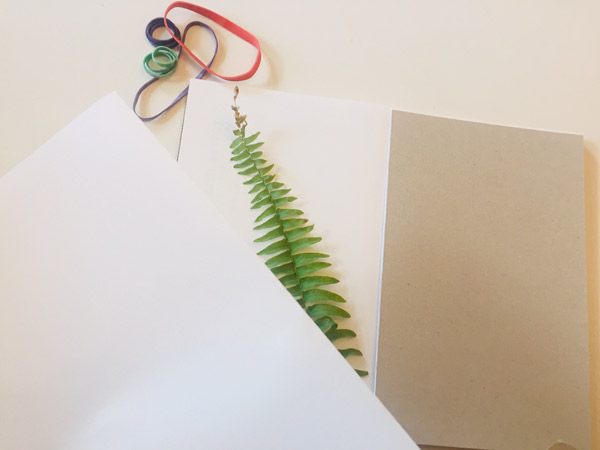
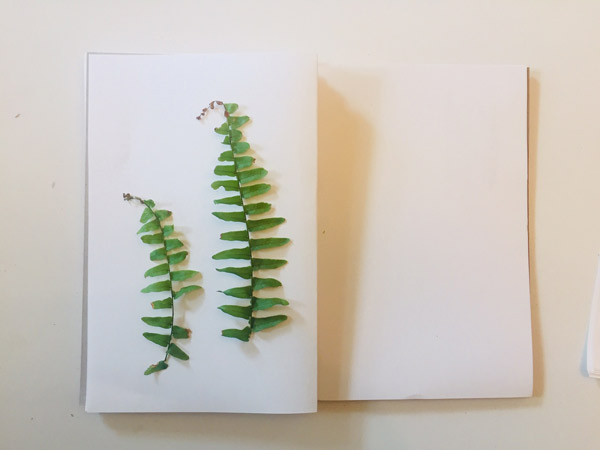
Select the fresh flowers or leaves you want to press and start by layering the bottom piece of corrugated cardboard, a folded piece of copy paper and your plant material.
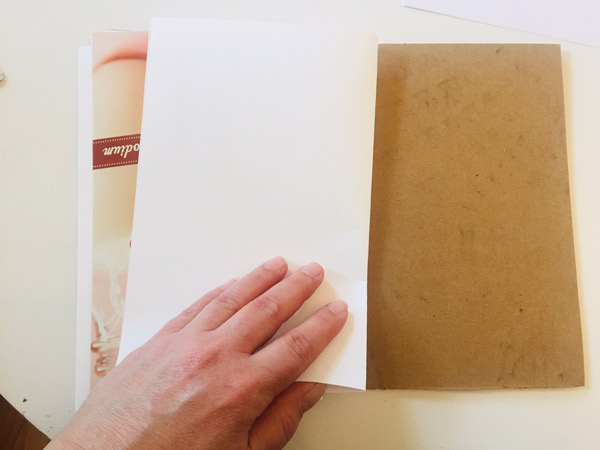
Top with a second piece of folded copy paper, and a piece of cereal box cardboard. The thinner cardboard will help to absorb any excess moisture from the plant material as it dries.
Repeat the pattern until you have used all the materials, leaving the last piece of corrugated cardboard for the cover.
Decorate the cover of your plant press and place on top of your stack.
Keeping all your layers stacked, carefully wrap two rubber bands around all the layers in both directions.
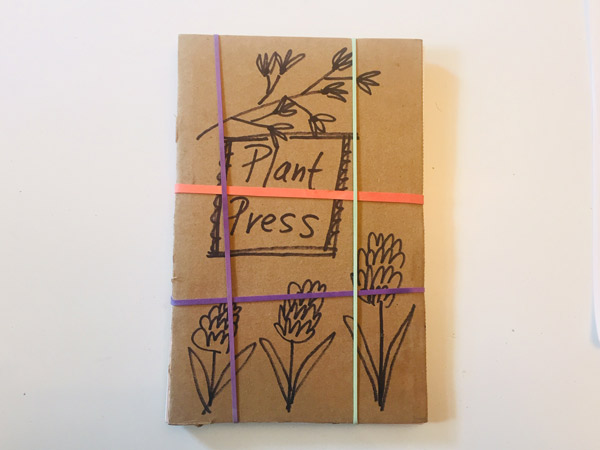
Place your completed press under a heavy book or two and check back in five to seven days to see your finished products. Frame your favorites to put on display! Bring your press with you on your next nature walk and fill it up with special leaves or flowers you find to remember your adventures.
Happy plant pressing!